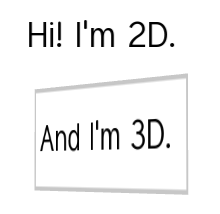
Use the Text Block nodes to show a small amount of text in your application. Text block node uses the font you select to render the text. Use Text Block 3D to show text in 3D space and Text Block 2D to show text in 2D space.
The default font in Kanzi is Fira Sans Regular. It is stored in <KanziInstallation>/Studio/Asset Library/Fonts. When you want to use your own font, import it to your Kanzi Studio project. See Importing fonts.
You can use these font types in your Kanzi applications:
Make sure that the font you use includes all the glyphs for the text that you want to include in your Kanzi application.
Kanzi sets the size of fonts in pixels. When you set the Font Size property, Kanzi passes that value to the Freetype library, which Kanzi uses to render fonts, using the FT_Set_Char_Size function with the default dpi value of 72.
For example, both of these display the letter H of the same size:
<p style="font-family:arial; font-size:36px;">H</p>
If you want to control the dpi scaling or set the font size in units other than pixels, you must implement that functionality in your Kanzi application. For example, if you want to automatically select the content that the images and layouts in your project use based on the dpi setting, implement that functionality in your Kanzi application.
To add text to your application:
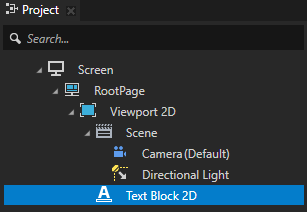
In the Preview use the Text Block 2D tool  to click and drag to create a Text Block 2D node. To position the Text Block 2D node in a layout, click and drag that Text Block 2D node, press and hold Ctrl, and drop the node on top of the cell where you want to place it.
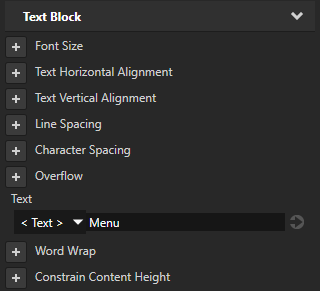
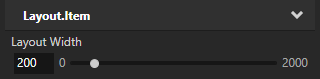
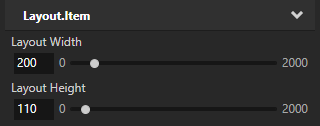
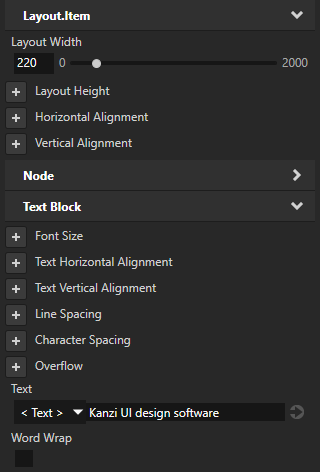
When you restrict the width of a Text Block node with the Layout Width property, you can set how Kanzi lays out the text that is longer than the width of that Text Block node:
This table lists the options you can use to set text layout.
| Goal | Required property values | Result |
|---|---|---|
|
Default property values |

|
|
|

|
|
|

|
|
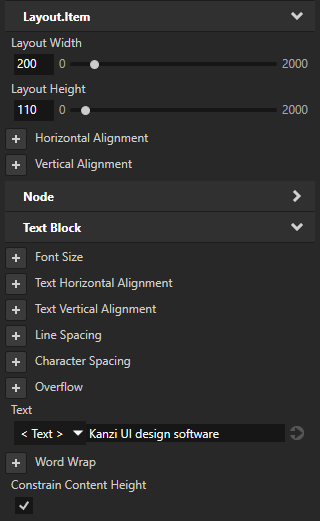
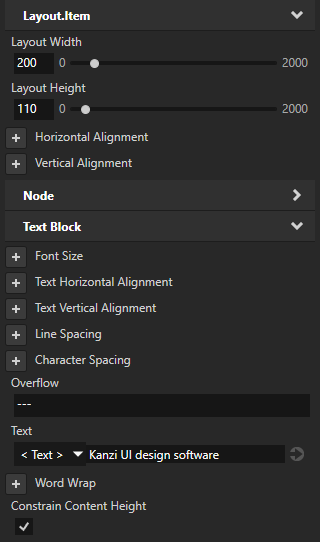
Wrap and truncate the text that is longer than the width and higher than the height of a Text Block node. |
|

|
|
|

|
|
|

|
To render a Text Block 3D node, Kanzi first prepares the text as 2D text using device-independent pixels and then projects the prepared text to the 3D space.
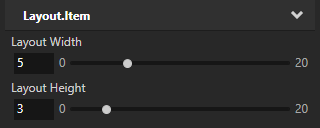
To set the size and layout of a Text Block 3D node:
To set the color of text in a Text Block 2D node:

 next to the property, and set the color of the Color Brush you created.
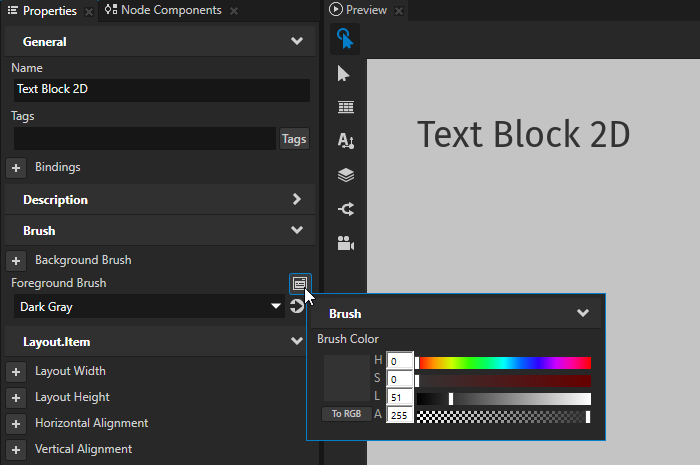
To quickly edit a brush, in the Properties next to the Background Brush or Foreground Brush property click and edit the brush.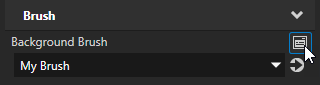
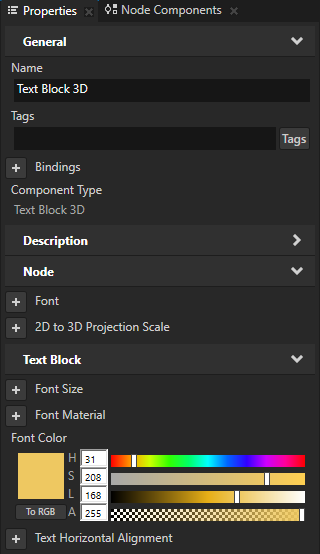
To set the color of text in a Text Block 3D node:

To dynamically change the size of text in a Text Block node, use the Scale property field of either Render Transformation or Layout Transformation properties, instead of the Font Size property. For example, use this approach when you want to animate the size of text in a Text Block node.
When you use the Font Size property to dynamically scale the text, Kanzi creates multiple textures for different font sizes and does not release them from the memory.
When you create a project in Kanzi Studio, the Screen node has in its resource dictionary the Text Block 2D Style which enables the Snap to Pixel property for all Text Block 2D nodes in a Kanzi application. The Snap to Pixel property rounds the translation and scale of the Text Block 2D node to a full pixel, which enables Kanzi to render text pixel perfectly.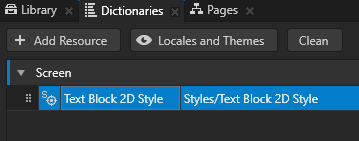
To disable the Snap to Pixel property, select the Text Block 2D node for which you want to disable that property and in the Properties add and disable the Snap to Pixel property.![]()
When you want the background of the text block nodes to be transparent, you must render the nodes in the scene graph of your Kanzi application in the correct order. See Rendering partially transparent nodes.
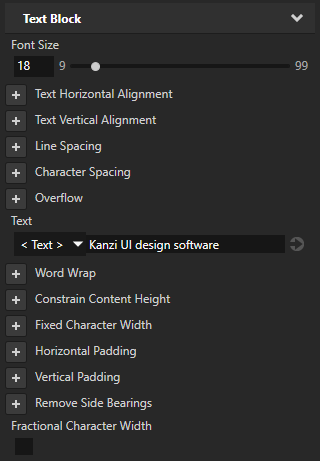
You can set how Kanzi renders each character in 2D text. In a Text Block 2D node these properties are by default enabled:
This table lists the options you can use to set the rendering of characters in a Text Block 2D node.
|
Goal |
Required property values |
Result |
|---|---|---|
|
Best text rendering result for most cases:
|
Default property values |

|
|
Render characters as the font designer intended. Do not round the translation and scale of each character to a full pixel. Depending on the screen resolution, anti-aliasing, and font size, this can make the text appear more blurry. |
Snap Character To Pixel disabled |
|
|
Improve the sharpness of small text. Round character widths to the nearest pixel. This prevents characters in small font sizes from running together and can make text appear sharper. |
Fractional Character Width disabled |

|
|
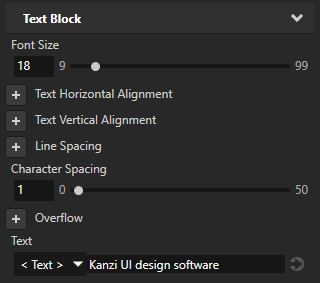
Manually set the space between the characters. |
Character Spacing to the amount of space you want between the characters |

|
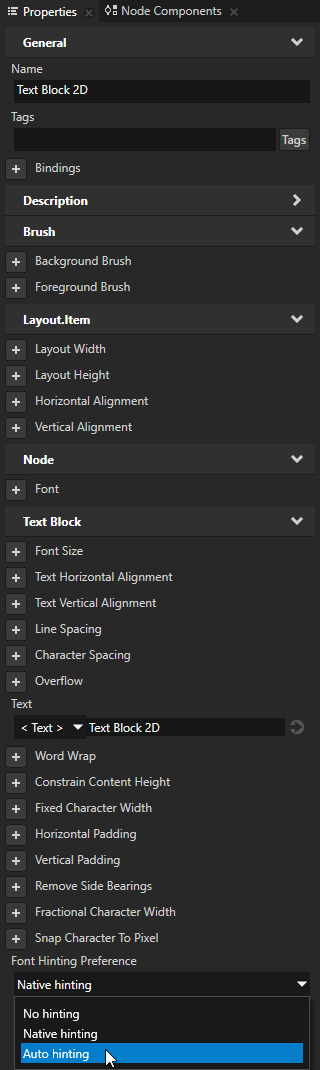
Font hinting provides instructions for rasterization: mapping the outlines of fonts to screen pixels. Font hinting aims to both maintain the design aesthetic of a font and optimize the readability of the font at different sizes.
Text nodes in Kanzi by default use the font hinting data included in a font.
For example, font hinting can affect the height and width of characters, the width of lines, edge contrast, and the space between characters.
To set font hinting for a Text Block node, in the Project select that node, in the Properties add the Font Hinting Preference property, and set it to:
To set the appearance of 2D nodes:


To create a Text Block 3D node:
// Create a Text Block 3D node named Text Block.
TextBlock3DSharedPtr textBlock = TextBlock3D::create(domain, "Text Block");
To set the font of a text block:
// Set the font used by the Text Block node using the resource ID.
textBlock->setFont(font);
To add the text shown by a text block:
// Set the text in the Text Block node to Hello world!.
textBlock->setText("Hello\nworld!");
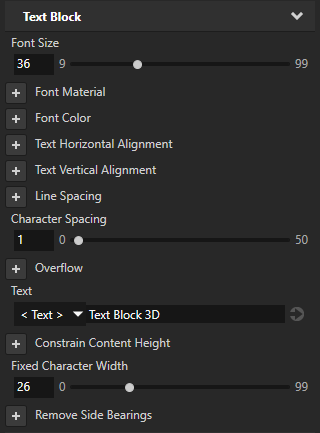
To adjust the appearance of the text:
// Set the style of the text in a Text Block 3D node:
// Set the size of the font to 90 device-independent pixels.
textBlock->setFontSize(90.0f);
// Set the color of the font to blue.
textBlock->setFontColor(ThemeBlue);
// Set the width of the text block in 3D space to 4 3D units.
textBlock->setWidth(4.0f);
// Set the height of the text block in 3D space to 5 3D units.
textBlock->setHeight(5.0f);
// To break long text lines to multiple lines to make the text fit within
// the boundaries of the text block, set the Word Wrap property to true.
textBlock->setWordWrap(true);
// To cut out the last lines that do not fit within the boundaries of the text block,
// set the Constrain Content Height property to true.
textBlock->setConstrainContentHeight(true);
// Align the text in the text block to the right.
textBlock->setTextHorizontalAlignment(TextBlockConcept::TextHorizontalAlignmentRight);
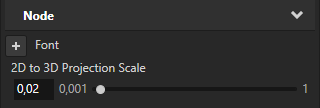
To adjust the scaling factor of the 2D to 3D projection:
// To scale the final text in 3D space, set the 2D to 3D projection scaling factor to 0.04.
// The default value of the Node::Projection2DTo3DScaleProperty property is 0.02f.
textBlock->setProjection2DTo3DScale(0.04f);
For details, see the TextBlock3D class in the API reference.
To create a Text Block 2D node:
// Create a Text Block 2D node named Text node.
TextBlock2DSharedPtr textNode = TextBlock2D::create(domain, "Text node");
To set the font of a text block:
textNode->setFont(font);
To add the text shown by a text block:
// Set the text in the Text Block node to Hello world!.
textNode->setText("Hello\nworld!");
To adjust the appearance of the text:
// Set the style of the text in a Text Block 2D node:
// Set the line spacing to 1.5f.
textNode->setLineSpacing(1.5f);
// Set the size of the font to 36.0f.
textNode->setFontSize(36.0f);
// Set the color of the font to blue.
textNode->setFontColor(ThemeBlue);
// Align the text in the text block to the right.
textNode->setTextHorizontalAlignment(TextBlockConcept::TextHorizontalAlignmentRight);
For details, see the TextBlock2D class in the API reference.
For lists of the available property types and messages for the Text Block nodes, see Text block 2D and Text block 3D.
Enabling the click gesture for a node using Kanzi Studio